
CCLAS EL 2.48.0 Local Installation and Upgrade Guide
This installation and upgrade guide provides the necessary steps to install or upgrade to CCLAS EL 2.48.0 on a Local laboratory computer.
Important: Contact your network administrator or Datamine representative for the location of the CCLAS EL software, or for assistance with its installation.
These activities must be conducted with adequate network, domain and administrator permissions to the installation machines.
Presumption: It is presumed that the initial installation of CCLAS EL has been undertaken. This means that the CCLAS EL database and folders are already in place on a traditional network server or cloud server. The database and folders could be on the same or different server (typically determined by load).
Installation Options
The selection of the various options presented during the installation is dependent upon the installation configuration at your site.
CCLAS EL can be installed with the following configurations:
-
Local—This guide covers this installation and upgrade.
The CCLAS EL executables reside on each laboratory computer.
The CCLAS EL database and folders reside on a traditional network server or cloud server.
Although a CCLAS patch or upgrade requires updating each laboratory computer, the performance of CCLAS EL for each user is far superior compared to running executables on a remote server from a workstation.
-
Application Server and Workstations
Presumption: It is presumed that the initial installation of the CCLAS EL has been undertaken by CCLAS Support. This means that the CCLAS EL databse executables on a network server or Citrix server has been undertaken by CCLAS Support. This means that the CCLAS EL executables are already in place on a traditional network server.
The CCLAS EL executables reside on a network server.
The CCLAS EL database and folders reside on a traditional network server or cloud server.
Although a CCLAS patch or upgrade only requires updating the network server, the performance of CCLAS EL for each user is far inferior compared to running applications locally.
Procedure
This procedure is to be done on each laboratory computer that is to have the CCLAS EL executables reside on the local drive.
-
If this is an upgrade of an older version of CCLAS EL, then determine where the CCLAS.INI file is located and make a backup of it outside of the CCLAS EL folders so that it can be reinstated after installation. This file should be located in the CCLAS EL Exe folder, that is, in C:\CCLASEL\Exe.
-
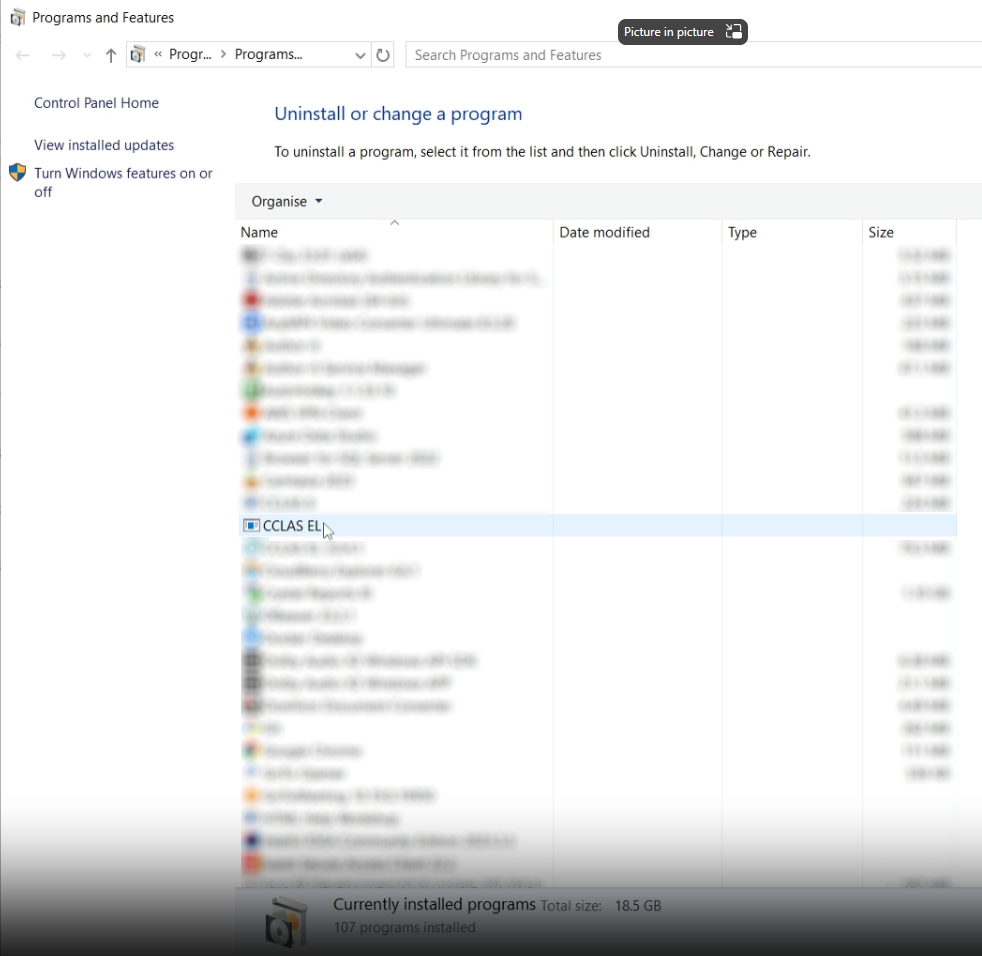
Access the computer's Settings » Apps » Programs and Features list to see the CCLAS EL application.
-
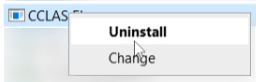
Right-click CCLAS EL and select Uninstall.
-
Ensure the installer has sufficient rights to allow the uninstall application to make changes to your device.
-
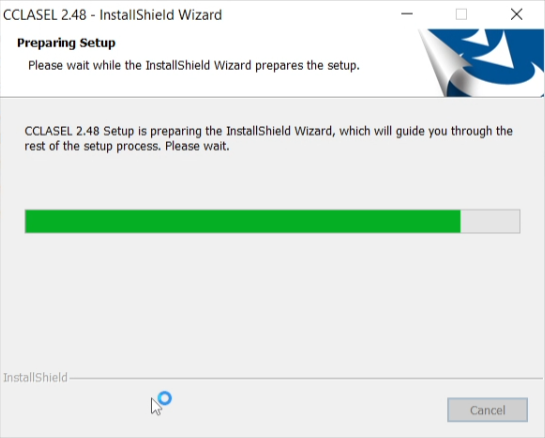
Wait while the InstallShield Wizard prepares the setup.
-
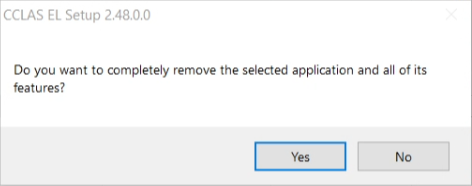
Confirm the removal of the CCLAS EL application.
-
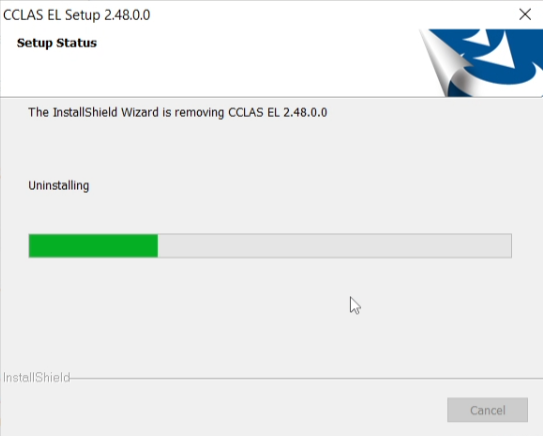
Wait while the InstallShield Wizard removes the CCLAS EL application.
-
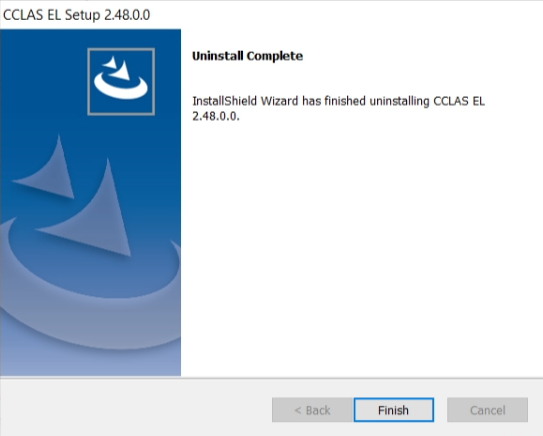
When the Uninstall Complete screen displays, click Finish to end the uninstall procedure.
Notes:
-
Uninstalling CCLAS EL 2.48.0 from the local drive removes the executables files (*.exe, *.dll, *.ocx), however, the CCLAS.INI initialisation file remains behind after the un-install process. This can be manually deleted, if required.
-
Any files that have been copied to the computer via the Directories and Help file features of the install process are not affected by the uninstall process.
-
-
Check that all files have been deleted from the root CCLAS EL folder, for example, from C:\CCLASEL. If the CCLAS.INI file was originally located in this folder, it can remain, but delete anything else.
-
Now follow the steps to install the new version of CCLAS EL and restore the CCLAS.INI file.
To install the new version of CCLAS EL and restore the CCLAS.INI file:
-
Download and unzip the Release_2.48.0.zip package.
Note: Due to the system changes applied during the installation of CCLAS EL 2.48.0, it is expected that the installer has Administrator privileges on the machine.
-
Right-click Setup.exe file and select Run as administrator to display the welcome screen.

-
Allow the install application to make changes to your device.
-
Wait while the InstallShield Wizard prepares the setup.

-
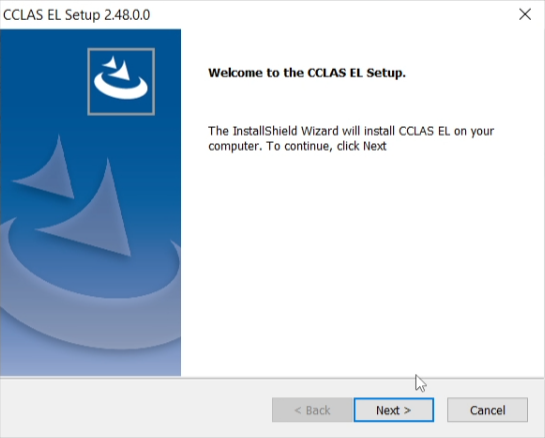
When the Welcome screen displays, click Next to proceed with the installation.
-
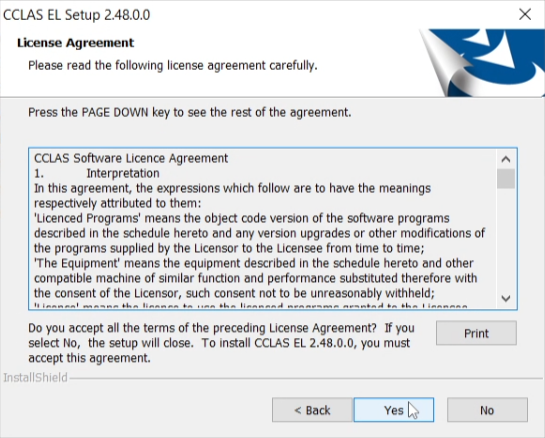
Review the CCLAS Software Licence Agreement, then click Yes to accept the terms and conditions.
-
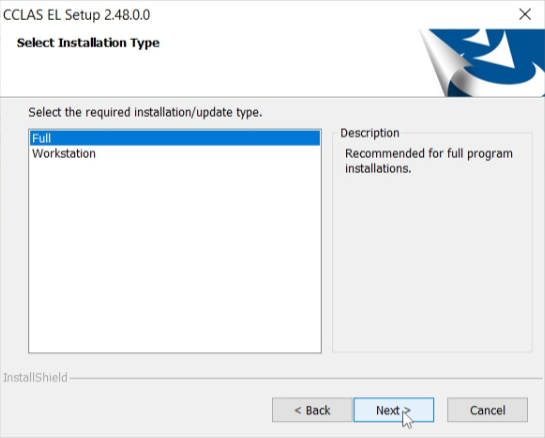
Select a Full installation to install the CCLAS EL components on the device, then click Next to proceed with the installation.
-
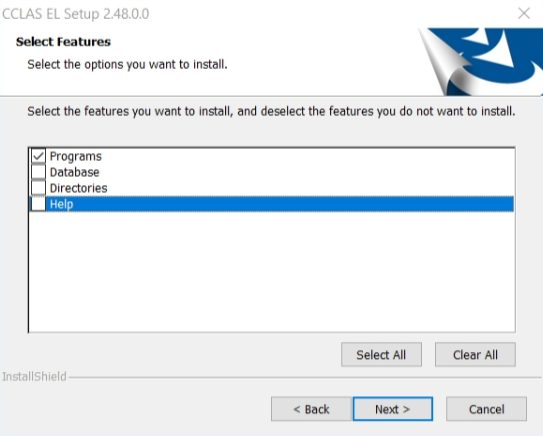
Select Programs and optionally Help to get the latest CCLAS EL applications and online help, then click Next to proceed with the installation.
-
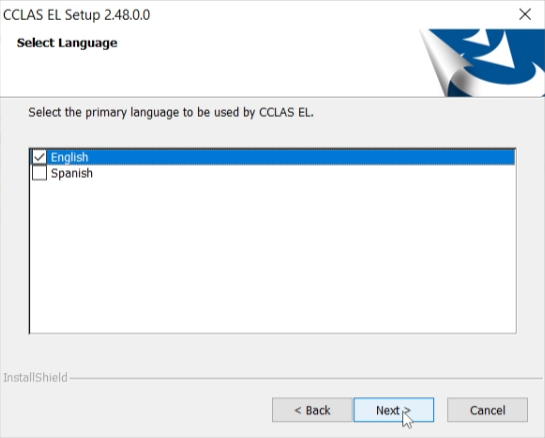
Select the default language for the CCLAS EL application, then click Next to proceed with the installation.
-
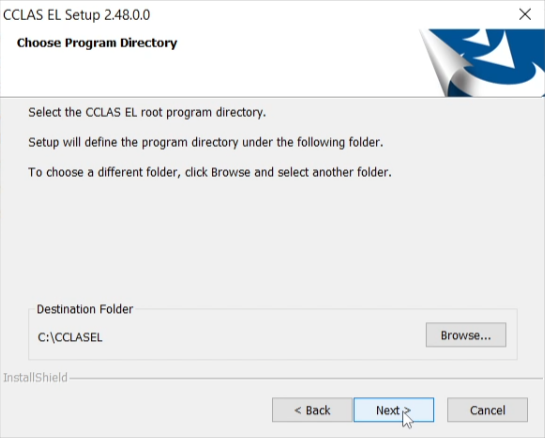
Choose C:\CCLASEL as the folder to contain the CCLAS EL executables, then click Next to proceed with the installation.
-
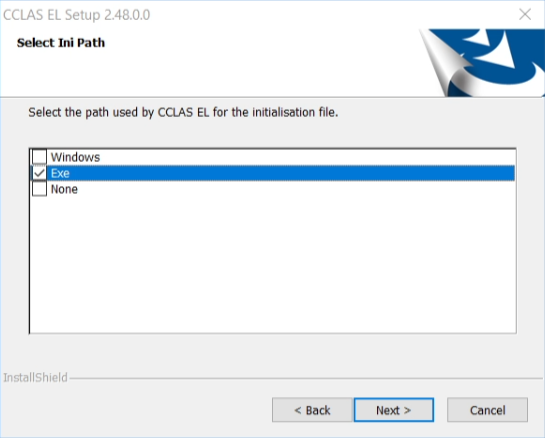
Select Exe to configure CCLAS EL to expect the CCLAS.INI file in the CCLAS EL Exe folder, then click Next to proceed with the installation. (Note that this creates a default CCLAS.INI file in the Exe folder which you will replace with your backed up one after the installation.)
-
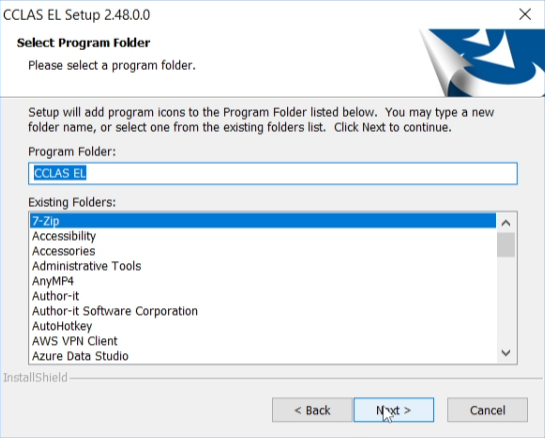
Choose CCLAS EL as the program folder to contain the CCLAS EL applications, then click Next to proceed with the installation.
-
When the Start Copying Files screen displays, click Next to proceed with the installation. To amend any of the previous selections, click Back, then return to this point and proceed.
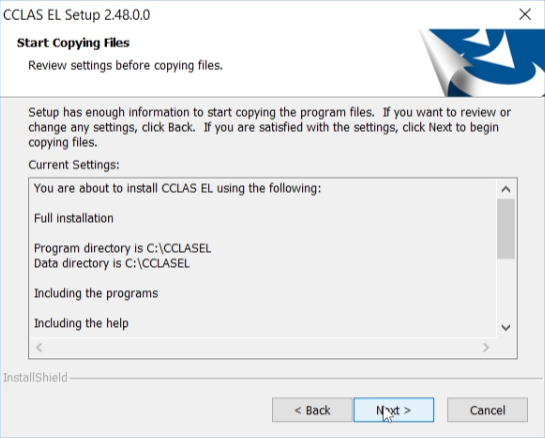
Scroll down to also see "Including the programs" and "Ini file is C:\CCLASL\EXE\CCLAS.INI". -
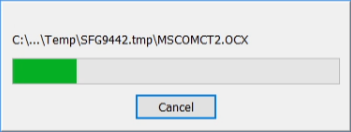
Wait while the InstallShield installs the executables.
-
Wait while the InstallShield registers the executables.

-
Wait while the InstallShield updates the CCLAS EL program folders.
-
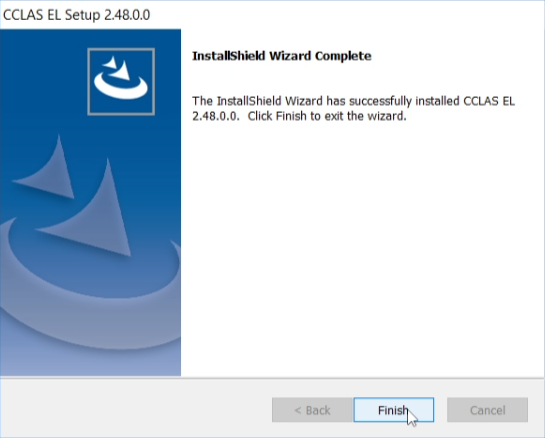
When the InstallShield Wizard Complete screen displays, click Finish to end the installation procedure.
-
Upon successful installation, access the computer's Settings » Apps » Programs and Features list to see the CCLAS EL application.
-
To pin the CCLAS EL application to the taskbar, using Windows Explorer, locate the folder containing the CCLAS EL executables, as configured during the install on the Choose Program Directory screen, then right-click cclas.exe and select Pin to taskbar to display the CCLAS EL icon
 in the taskbar.
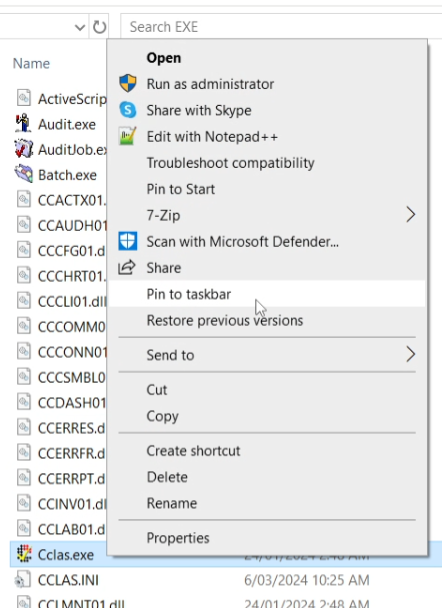
-
If the taskbar shows the CCLAS EL application icon as
 , then a restart of the Windows Explorer process fixes this. To do this, ensure that a Windows Explorer window is open, then click Ctrl-Alt-Del » Task Manager, locate the Windows Explorer application on the Processes tab and right-click Restart.
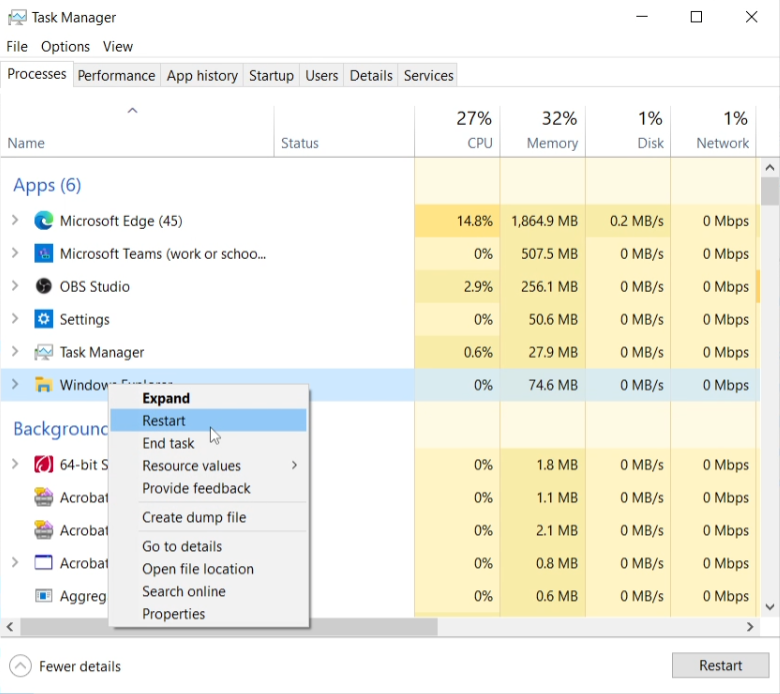
-
If this is an upgrade, locate the backup you made of the original CCLAS.INI file and place it in the C:\CCLASEL\Exe folder, replacing the default one created during the installation. If this is a new installation of a local laboratory computer, a CCLAS.INI file from another local laboratory computer can be copied and put in place on this laboratory computer.