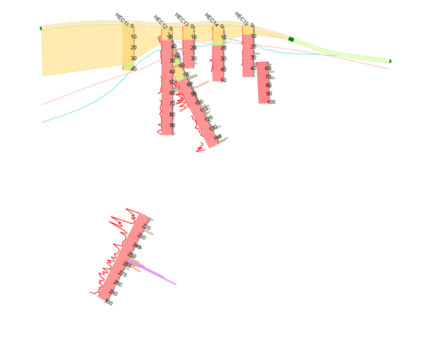
Annotate a Section
When you create a section, the Section Template’s layers and styles are automatically incorporated. This streamlines the annotation process by providing accurate values and consistent styling from the start. You can use all native ArcGIS Pro editing tools to annotate the section as needed.
Activity Steps
- Open a Section.
- On the Edit ribbon tab, in the Features group, click Create.
The Create Features panel displays.
Warning: It is important that the section being edited is the Section Template layer and not the downhole layer, which is the drillhole layer. The section template layer is always prefixed with the section name; for example, Section1. Minimise all other layers to avoid confusion. Only section template layers send data to the 3D environment to be modelled with the Solid From Template tool.
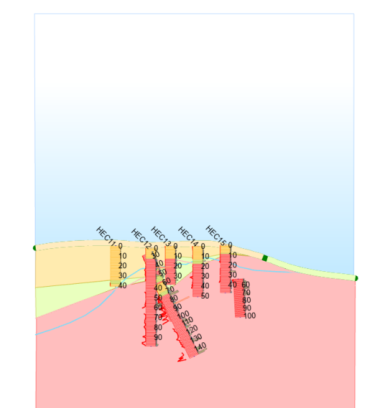
- In the Section Template Layer, select the attribute you want to digitise; for example, O (for oxide). Digitise the appropriate polygon, point or line. An example is displayed in the image below.

- Add a gradient to the digitised layer if required.
- Right-click the digitised layer under the Contents panel and select Symbology from the menu.
The Symbology panel displays.
- Click the coloured box in the Symbol column for the required layer.
The Format Polygon Symbol panel displays.
- Select the Properties tab and click the symbology layers icon
 .
. - Select Gradient Fill.
- To adjust the Appearance, select a Color and line Width.
- For an even gradient, set the Direction as Linear and the Type as Continuous. An example is displayed in the image below.

- Right-click the digitised layer under the Contents panel and select Symbology from the menu.

