
Tutorial – Create a New Project and Perform Photogrammetry
To start using Sirovision, you first need to create a new project and perform photogrammetry procedures on your photographs. Multiple images are used to create three-dimensional models. Much of this process is automatic, but you may need to set up survey data if you plan to georeference your 3D model. Georeferencing helps to position 3D images relative to each other using any desired coordinate system, most usually using GPS (Global Positioning System).
Note: All images and data files for this tutorial are located in your Sirovision installation directory. The default directory location is
C:\Program Files\Datamine\Sirovision\Tutorials.
Activity Information
Create a new container project with PixPro using the help documentation and specific details given below. See Create a New Container Project with PixPro.
These images were taken using a Single Camera sensor type and there is a Survey File (East_Wall_Survey.txt) for georeferencing the images (using metric units).
The Survey File contains several points with known coordinates, which are loaded into the survey point table in the New Project Wizard. Use the two image files (LEF_35_01.NEF and RIG_35_01.NEF) in the Sirovision tutorial data directory. Mapping out the same three points on each of the images allows Sirovision and PixPro to create a 3D model from the images, as long as the points are sufficiently spaced.
Tip: In your own projects, ensure that you select survey points that are reasonably spaced to create accurate 3D models.
Map out survey points 3, 10 and 11 on each of the images. The locations of these points are shown in the example below. Zoom into each of these locations to see a white circle and plus (+) symbol, with the relevant number written next to it. It is important to place these points as accurately as possible.

After creating the project, double-click the project in the Project Tree to display the 3D model in the Image Viewer. Your model should look similar to the image below.
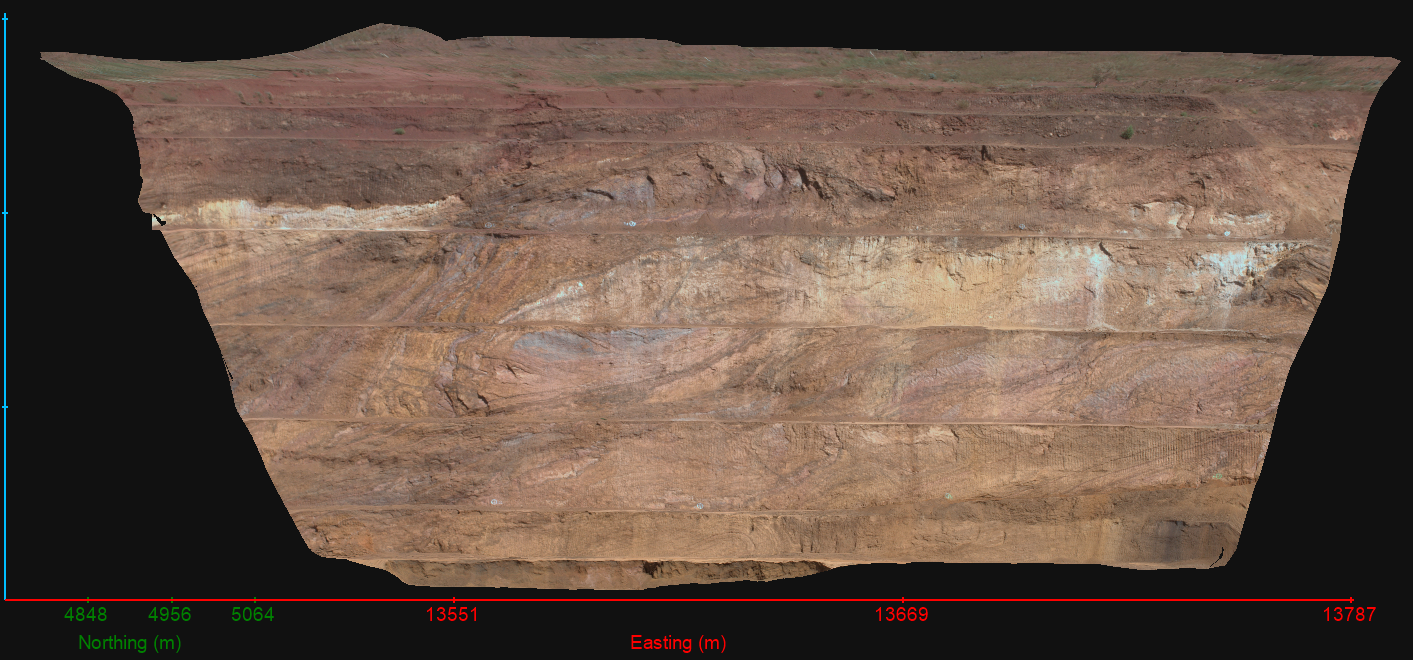
Hold Shift and click and drag to change the viewing angle and zoom-distance of the Image Viewer.