Butterfly Face Maps
When creating a face map, you can digitize and edit face map elements using either a "3D Map" (the default view) or a "butterfly map" view, and dynamically swap between the two view types at any time.
Note: The Butterfly Map facility is only available for face maps. Other map types cannot be viewed in this way.
-
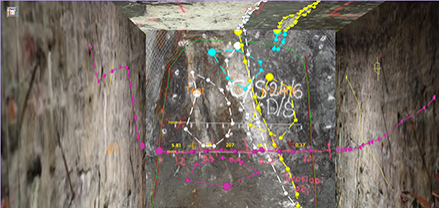
Face Map views show each face as a side of a cube. Each face aligns with a particular section representing up to 5 faces (front, top/backs, left wall, right wall and floor). Changing map faces automatically orients the cube so you are viewing the target face orthogonally, for example:

(Perspective mode is enabled in the above view. See Navigation Toolbar)Tip: In the 3D Map view, double-click or tap a face to automatically orient the view to be orthogonal to the target face.
-
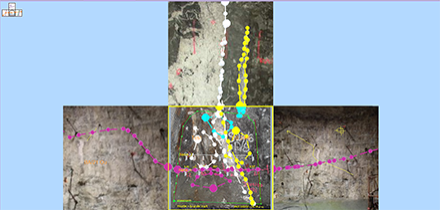
Butterfly Face Map views align all map faces to the same plane so they can all be viewed orthogonally at once. This can be advantageous when digitizing polygon or contact features across faces. The data shown in a butterfly map view hasn't been flattened; it simply appears that way to make it easier to create face content. For example:

Tip: swap between 3D map and butterfly face map views instantly using the on-screen icon at the top left of the viewing area:

(1) shows the icon in 3D map mode, whilst (2) denotes the view is currently in butterfly map mode. Clicking the icon toggles between the two states.
Swapping between map views doesn't affect any underlying data; only the view of the data changes. View icons do not appear in the 3D world view.
Related topics and activities

