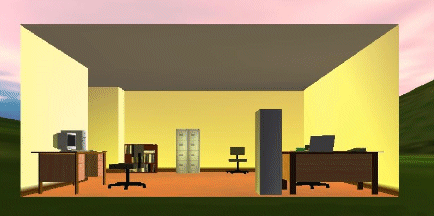
Placing Objects on Surfaces
Objects listed under the Object Type folder of the Sheets control bar can be added to the active 3D window by either:
-
Placing the object on a wireframe surface (for example, an office on terrain).
-
Placing the object inside another object (such as a desk inside an office).
-
Placing the object on another object (like a computer on a desk).

To Place a VR Object:
Before starting this activity, make sure you have created at least one VR Object Type.
-
Position your viewpoint close to where you wish to place the object. If you are placing the object inside another object you will need to first move your viewpoint inside the object.
Tip: elevate your viewpoint and pitch the view direction down so that you can see the surface - if there is a shallow angle between your view direction and the surface, small movements of the cursor may produce very large movements over the surface.
-
In the Sheets control bar, active 3D window sub-folder, VR Object Type folder, right-click the object type you wish to place into the world view, select Place Objects.
-
Move the cursor into the active 3D window - the cursor type will change while you are in Place Object mode - position the cursor where you wish the object to be placed and click to place the object.
Note: you can still navigate around the world in Place Object mode using the keyboard navigation controls.
- Typically, the base of the object is laid parallel with the surface where the object is placed. The object is initially oriented with the central object axis pointing along the world Y axis, in other words, with an azimuth of 0 degrees.
-
Repeat until you have placed all the objects of the active type.
-
Exit Place Object mode by pressing ESC.
Once an object has been placed you can then:
-
Re-position, rotate, lower, raise or tilt the object. You can also enter the object world coordinates and orientation with the keyboard. For more information see Adjusting the position and orientation of objects
-
Force the object upright or change the size of the object - double-click the Object Type in the Sheets control bar, active 3D window folder to display the Object Type Properties screen.
-
Display the object name in the world view - double-click the object in either the world view or the Sheets control bar, active 3D window folder to display the Object Properties screen.
Related topics and activities

