
|
|
Example - Create Example Project Create a new Studio OP Project |

Create Example Project
This topic shows you how to create a new Studio OP project as a starting point for the following example exercises.
Prerequisites
-
Studio OP v2.2 or later is installed and licensed (core license required)
-
The example should take around 20-30 minutes to complete.
Exercise: Creating a new Studio OP project
- Create a folder under C:\Database (or the equivalent path for custom installations) called "Studio_OP_Example".
- Copy (don't move) the following files from
C:\Database\DMTutorials\Data\VBOP\Datamine
(or the equivalent path) into your new folder:
- BenchExits.dm
- DestinationPoints.dm
- Evaluation Legend.elg
- Intersections.dm
- OPDemo3PB.dm
- Phase1.dm
- Phase2.dm
- Phase3.dm
- PitExits.dm
- roadstring.dm
- Topos_pt.dm
- Topos_tr.dm
- Tutorial_Road_Start.xml
- If you haven't done so already, launch Studio OP and (if required) secure a license. If Studio OP is already running with a project loaded, save and close the active project.
- Using the Studio OP Start Page, click New Project.
- When the Studio Project Wizard appears, call your project "Studio_OP_Example" and make sure the Automatically add files.... check box below is selected. Click Next.
- On the next screen, you should see a list of all the files you copied in Step 2). Click Next.
- Click Finish. Your project is created.
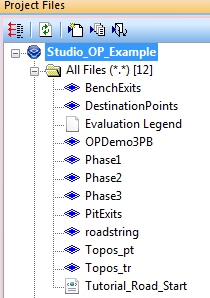
- Open the Project
Files control bar and expand the [All Files] folder. A
list of example files should be listed:
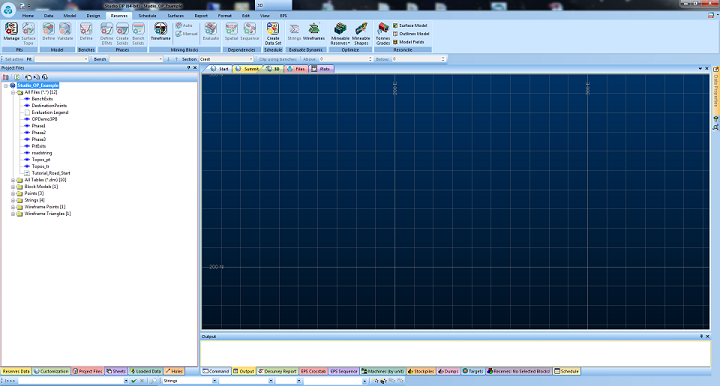
- Enable the Reserves
ribbon and ensure Project Files
control bar contents are displayed:
In the following exercise, you will define pit settings for reserves generation.