
|
|
Example - Define Timeframe Define which time units are appropriate throughout your mid-term schedule |

Define Timeframe
The timeframe task is used to define the granularity of the reserve blocks - in essence, they become the basic units by which the schedule is described, for a given period of time.
It is unnecessary and usually meaningless to create reserve mining blocks whose size represent only a month's worth of mining if is known they are going to be mined in several years time. It is more practical, as well as meaningful, to create smaller mining blocks and report on shorter timeframes for the near term and have larger mining blocks and longer reporting durations for longer term scheduling. The timeframe definition is used as a guide to control the size of mining blocks that are automatically generated..
Prerequisites
-
You have completed Creating Bench Solids
Exercise: Setting up a timeframe for automatic block generation
When the automatic block creation task is used (as in the next exercise), this example requires that Studio OP (approximately) create mining blocks for the first two months, where each block represents a week's worth of mining. Following that, you wish to generate mining blocks for the next two quarters, where each block represents a month's mining. The following 2 years are to be subdivided into blocks represents a quarter and the following 3 years represented only by year-sized blocks.
Overall, there is a decrease in the granularity/resolution of blocks as time progresses, with the overall timeframe spanning 5 years and 8 months.
- From the Reserves ribbon, select Mining Blocks | Timeframe.
- There are four time periods that need to be
defined; the first is for the first two months, to calculate mining
blocks of a week's duration each.
Ensure the check box in the first row (1) is selected, then select the following options for that row: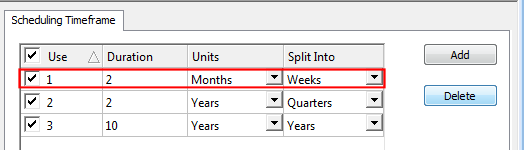
- Set up the next two rows so they include the
following details:
Row 2: Duration = 2, Units = Quarters, Split into = Months
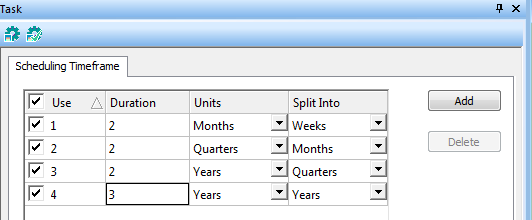
Row 3: Duration = 2, Units = Years, Split into = Quarters - Finally, create a new row (Add) and enter the
following information:
Row 4: Duration = 3, Units = Years, Split into = Years - Select the checkbox for the new row (row 4)
- Your Timeframe
table should now look like this:
- Save and Close your task.