
Measuring Plots
To access this command:
-
In the Plots window, toggle off Page Layout Mode, right-click a sheet, and select Measure.
The Measure command is used to measure distance by drawing a measurement string (line or polyline) on a plot sheet's projection plane.
Measurement is achieved by digitizing a 2D string, including as many points as are necessary. The resulting cumulative distance measurement is shown after each mouse click. The line that is shown on screen during digitizing is temporary; it will not be visible in your presentation (and is removed after the measurement operation is complete).
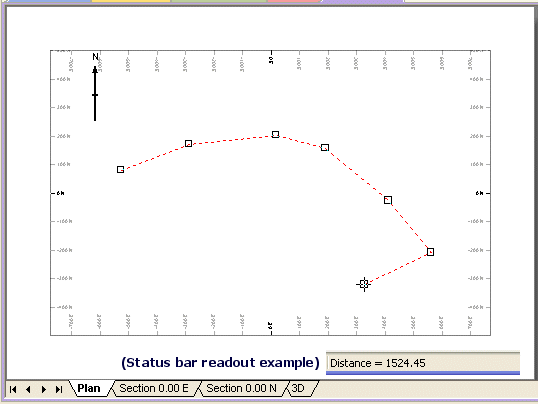
Once a measurement string (line or polyline) has been drawn, you can use the right-click context menu to access measurement mode-specific commands.
These commands are only available when a measurement is being performed, and they are:
-
Stop Measuring—Cancel measurement mode and return to Static Page mode.
-
Continue—Continue digitizing a measurement string in the selected projection.
-
Strata Mode—Adjust how points are added to the boundary when digitized.
-
If checked, the top and bottom points of a stratum are added in turn.
Note: If snapping points to drillhole samples, points are added in pairs at the top and bottom of each selected sample.
-
If unchecked, points are added to the boundary in a perimeter fashion.
-
Zoom – Scale the view of the active projection.
View Settings – Display the View Settings screen to change the view definition for the selected section. See Sections and Projections.
Related topics and activities:
