Add Box Timing to an Electronic Initiation Pattern
For context and examples, see Initiation Patterns.
Activity Steps
- Select the Initiation module.
- Select an electronic initiation pattern in the DataBlast Items Tree.
The pattern displays in the Viewport.
- On the Initiation Pattern Ribbon Menu, in the Electronic Commands group, click Timing Design.
- On the Electronic Timing Ribbon Menu, in the Timing Objects group, click Add Box.
The X/Y and Z Zone Selection screen displays available zone combinations with the name before the dash being the X/Y timing zone and the name after the dash being the Z timing zone.
- Select the required zone(s).
- Click OK.
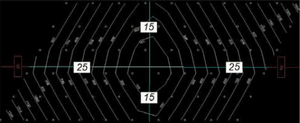
- Click the centre ('origin') point of the box. For example:

DataBlast Ignite adds blue lines for the box 'arms'.
DataBlast Ignite calculates the timing for each hole in the zone based on the perpendicular distance between each detonator and the box arms, multiplied by the relief and then normalised so that the first hole(s) fire at 0 milliseconds.
The total firing time displays in the right-hand panel.
- Rotate the box arms if required.
Note: Experiment with different rotations and use the relief analysis tool to see the impact on blast performance. See View Blast Relief Rates.
- Update calculation settings:
- Select Box or a zone in the right-hand panel to limit the scope of the calculation settings.
- Update the value for Force Incremental Timing if required for licence conditions or because ground vibration constraints require limiting charge per delay.
Note: Entering a value other than 0 means that no holes can fire at the same time. The value is the minimum number of milliseconds between holes firing. Always check sequencing and relief after forcing incremental timing. Blast performance may be compromised and excessive delays may promote column dislocation.
- If the scope is a zone, enter an Overall Delay Offset if required to delay the firing of the first hole in the zone; for example at perimeters or for mid-splits.
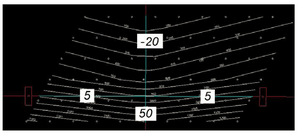
- To update the relief for a box arm:
- Click the box arm.
- Update the Relief Value. Default: 20. For example:


- Click Save Changes.

