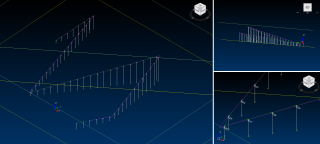
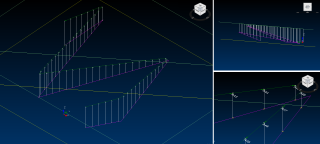
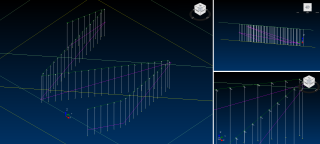
Create a Line of Holes
Use this activity to add a line of holes to a drill pattern that has assigned surfaces. For context, see Design a Drill Pattern.
Activity Steps
- Select the Design module.
- Right-click a drill pattern in the DataBlast Items Tree and select Edit Selected Drill Pattern in Designer from the menu.
The drill pattern displays in design mode.
- In the DataBlast Items Tree, select the set of design lines (or other object) that includes a polyline.
- On the Holes Ribbon Menu, in the Hole Patterns group, click Line Hole Pattern.
- Select the polyline(s) and right-click to finish the selection.
- Select the end of the polyline from which to start the hole numbering.
The Line Hole Pattern screen displays.
- To load settings from a template, select the Pattern Template.
- Select a Mine Block from the defined mine blocks.
- To offset the first hole from the start of the polyline(s), enter the Hole Start Offset.
- Select the Pattern Spacing from:
- Exact Intervals—Enter the Spacing.
- Evenly Spread over Line Segments—Enter the Spacing.
- Select the drill Diameter from the allowed diameters. See Configure Mine Site Settings.
- Enter the Minimum Valid Length for holes. Holes are not created if the collar and toe positions are less than this length apart.
- Select the Icon for how the holes display in the Viewport.
- Select the Angle Increment from:
- Free—Do not limit hole angle fractions.
- 0.1°
- 0.5°
- 1°
- 5°
Note: The drill machine (for example a rotary style drill) may limit the angles at which holes can be drilled. This setting also affects later edits to the hole bearings.
- Select the Default Hole Angle from:
- Angle Relative to Horizon—Enter an angle.
- Perpendicular to Current Coordinate System
- Select the Projection from:
- Use Polyline Elevation for Collar
- Use Polyline Elevation for Toe
- Ignore Polyline Elevation (default)—Holes are created based on the defined collar and toe targets or surfaces. See Assign Surfaces to a Drill Pattern and Define Fixed Targets.
- Enter toe offsets if required:
- Drill Toe Offset—A negative number creates holes that are drilled below the excavation surface. A positive number creates a holes with a standoff above the excavation surface.
- Charge Toe Offset—Enter a value if you do not want to load explosives at the bottom of the hole.
- Define the hole numbering scheme:
- Select numbering from Alphanumeric and Numeric.
- Enter the Minimum Digits.
- Enter a Prefix if required.
Note: You can Customise Hole Numbering after creating the holes.
- If you changed template settings but want to revert to the template settings, click Reload Template.
- To save the settings as a template:
- Click Save Template or Save Template As.
The Template screen displays.
- Enter a Name.
- Click OK.
Note: To rename a template later, see Maintain Designer Pattern Layouts.
- Click Save Template or Save Template As.
- Click OK.
- Select the side of the row for the direction of the hole toe; that is, the hole bearing.
DataBlast Pro calculates the hole positions.
- Click Save Changes.


