
Gesture and Stylus Controls
Whether you're using a stylus, finger gestures, keyboard, mouse or a combination of methods, the transition between devices has been engineered to be seamless.
For view positioning such as zooming and panning, however, it may be quicker to use built-in gesture recognition facility.
For data entry, use whatever you prefer: an on-screen keyboard may be suitable, or (if your operating system supports it), you can even make use of an automatic handwriting-to-text facility, such as that offered by Windows portable operating systems.
If using a touch device, you can expand the spacing of your user interface icons and menu items by swapping from mouse to touch mode.
Using a Stylus
A stylus is recommended for most field data capture operations, as this method will generally offer the most precise results. Digitizing, in particular, is well suited to a stylus device, which can be either active or passive. Your application will automatically adopt any pen device that you currently use with your portable system.
Important: an active stylus and touch device are required to emulate the right-click of a mouse and display context-sensitive menus and other functions.
It isn't possible to document the default behaviour of all commercial stylus devices, however, in general:
- Tap to emulate a left-mouse-click. This can be used to:
- Set the focus of a form control
- Digitize a point (if Auto Node is disabled)
- Select keys on a virtual keyboard
- Activate form toggles and buttons
- Access other UI controls and menu options
- Double-tap to emulate a double-mouse-click, which can be used to access context-specific actions (see "Shortcuts", below for some examples).
- Select and open a file or table
- View the editable properties of items in non-3D views (e.g. Plots)
- Access 3D window environment settings
- Close the application (top-left corner)
- Complete a digitizing operation (feature, area, sketch, freeform profile)
If your stylus supports it, you can also:
- Tap, hold and move to draw freeform structures if Auto Node is enabled.
-
Tap and hold, then release the stylus tip to display a context-sensitive menu. Many items in your application are supported by context-sensitive menus, including the 3D window.
Using Gestures
The following gesture controls are available in the 3D view:
- Pinch and Zoom: press
two fingers onto the screen (within the 3D view frame) and either
pinch to zoom out or spread to zoom in. The level of magnification
will depend on your current view magnification, and the view will
automatically centre on the focus of your fingers:
Zoom in (spread):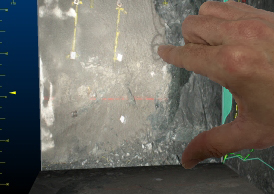
Zoom out (pinch):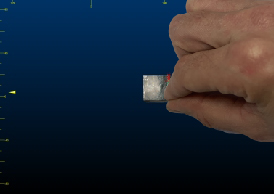
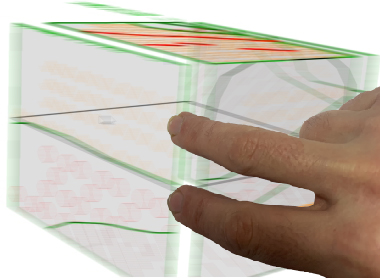
- Two-finger panning:
press two fingers to the screen and drag to pan without zooming.
A small level of 'intertia' is applied, meaning you can skim the
screen to the best position quickly:
Shortcuts
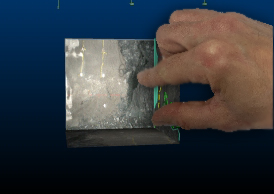
Using either a stylus or your fingers, a double-tap can be used to automatically orient the view of your map. If you are using a mouse, a double-click will achieve the same result.
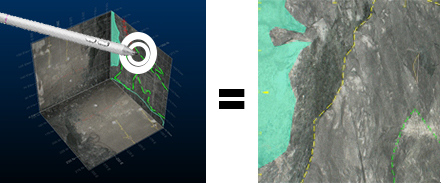
Double-tap a displayed map face to automatically centre the view on the section and align the view to view it face on:
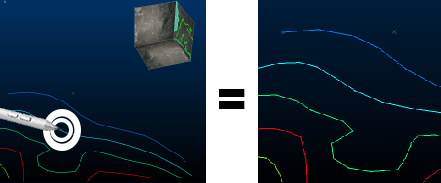
Double-tap any other data object in view to automatically centre the view on the target object and tap position:
Double-tap empty screen space to show the Environment Settings screen to configure general 3D window view settings.
Related topics and activities