|
|
Planning Tutorial An underground benching tutorial |

Introductory Planning Tutorial
About this Tutorial
This tutorial demonstrates a simple run-through of Studio UG's planning functions.Each exercise aims to highlight functions that have been introduced in Studio UG that may differ from legacy underground planning products such as Datamine's Mine2-4D and Studio 5D Planner applications. It may be a useful resource for both new users and existing clients transitioning to Studio UG.
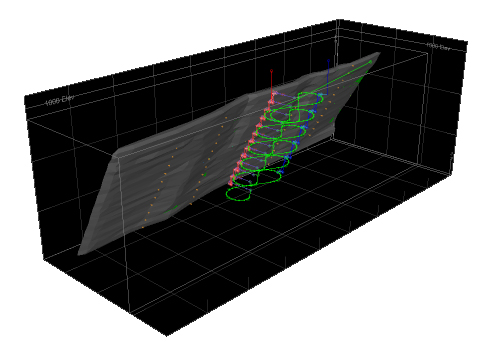
Starting with project setup and ending with an animated schedule linked to Datamine's Enhanced Production Scheduler application, the following exercises provide a basis for exploring Studio UG further. It isn't practical to cover every function available to you; instead, key functionality is described using a simple data set that takes you through the preparation of design data representing primary and secondary developments accessing a steeply dipping AU deposit, using conventional benching techniques.
You will encounter fixed cross-sectional design strings representing the underground development and imported wireframes representing both primary and derived stoping activities. These hypothetical wireframes were generated by Datamine's Mineable Shape Optimizer application, using the same model as used for interrogation in this tutorial. Although MSO isn't accessed directly in the following exercises, the tutorial data set you download in the first section contains a collection of all MSO outputs for the tutorial project, including the stope wireframes that will ultimately be used to construct stoping and derived backfilling activities.
bm_benching.dm - Studio UG tutorial model data - a single model file
is used
Links to other topics or within topics are kept to a minimum; this tutorial is best followed from start to finish without diversions. As such, the usual 'Related Topics' section at the bottom of each page is replaced with a link to the next topic in sequence.
This tutorial can be completed in approximately one hour. You can break it up into sections if you wish, saving your project after each section, but it is advisable to complete all exercises in each section in the same Studio UG project session.
Studio UG Tutorial Data
Several data files are referenced throughout the tutorial. The first exercise generates a new Studio UG project and ensures the relevant data is available. An archive containing the input design files, EPS template and evaluation legend (.elg) file is downloaded as part of the first exercise.
Tutorial Sections
Each section of the tutorial starts with a brief description of the prerequisites for the next set of exercises. These prerequisites will reference required knowledge, data and previous exercises that need to be completed beforehand.
For new users, it is recommended to 'stick to the script' for the first run-through. If you are more familiar with Studio UG's planning functions, you can consider adjusting some of the instructions to see the impact on your resulting data and/or schedule. For example, you can adjust the evaluation legend bins to see the impact on downstream processing/reporting, or adjust some of the dependencies to see how it affects your schedule in EPS.
You should following the tutorial through in the order specified as many exercises rely on output from previous exercises.
The Studio UG tutorial comprises the following sections, each broken down into related exercises.
| Section | Overview | Jump to it | |||
|
|
System, Project and Data Preparation | Create a new UG project, download the starting design files and configure application settings. | Click here... | ||
|
|
Planning Setup | Define your planning project settings, including design files, block model, default values, naming convention, filters, model interrogation settings and evaluation legend. | Design Files Setup...Naming Conventions Setup...Interrogation Rules Setup... | ||
|
|
Manual Attributes Assignment | Define and assign attributes to your design data interactively. | Click here... | ||
|
|
Design Definitions Setup | Set up the design definitions for your project, define your cross-sectional shapes and assign the final definitions to your design data (which are part-prepared). | Click here... | ||
|
|
Data Validation | Run some checks over your data and resolve some minor issues. | Click here... | ||
|
|
Data Processing | Set up a backfill derived activity and commit your design data and definitions to solids creation and sequencing. | Click here... | ||
|
|
Dependencies Setup | Define development 'layers', set up some automated layout rules and generate dependencies for your activities. | Click here... | ||
|
|
EPS Connection | Export the current schedule
to Datamine's Enhanced Production
Scheduler application and review a schedule animation.
|
Click here... |
Each section is contained within a dedicated Help topic and is shown as a separate entry in the Table of Contents on the left.
Copyright © Datamine Corporate Limited
JMN 20045_00_EN