
MSO User Interface
MSO (versions 5.0 and later) are hosted by a standalone control bar containing all of the tools you need to generate optimal stope shapes in relation to a planning model.
MSO is accessed using the Report ribbon, where you will find the Mineable Shapes button. Selecting this displays MSO as a docked control bar.
Note: Studio UG 4.1 features two versions of MSO: Mineable Shapes (Legacy) represents the earlier rendition of MSO (version 4) and is maintained for legacy project support and to assist you in migrating to the more modern MSO version (Mineable Shapes (New). In later versions of Studio UG, only the more modern version is available. You can use either, but for new stope optimization campaigns, the newer version is recommended. See What is Mineable Shape Optimizer?
Once launched, MSO appears (by default) on the left of the screen, docked to the application frame. You can change this and even 'undock' MSO to a standalone, floating console that be positioned anywhere on any available screen. In this regard, MSO behaves as a standard control bar. For more information on view customization, see The MSO Control Bar.
The MSO Ribbon
With the MSO control bar lies the context-sensitive ribbon. Use this to access the different parts of the MSO workflow.
The ribbon not only provides access to the various screens used during stope optimization, but also indicates the readiness of workflow stages.
For example, if no scenarios have been created yet, most commands of the MSO ribbon are unavailable:

In this situation, only the Manager and Summary screens are available. This is because, without a scenario, you can't define other optimization settings.
Note: The Run and Review screens are available even without a scenario, as these screens both provide access to the scenario management tools.
Once a scenario has been created, the ribbon updates to reveal more screens and additional status information.
The ribbon also provides other information: The following image represents the MSO ribbon where a scenario exists (it has just been created), but a block model hasn't been defined yet. As a block model is an essential aspect of the MSO workflow, the Block Model task appears with a warning overlay:

For high-level information on each screen, see MSO Workflow.
MSO Toolbars
Some screens feature a supporting toolbar, providing access to commonly used functionality. For example, the Review screen features a toolbar to generate the various report types:

Guided Workflow
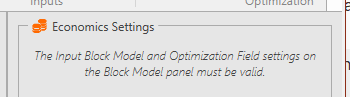
Where possible, you are guided through the workflow with screen prompts indicating what to do next. For example, you can't define economics settings unless an input block model (and associated optimization fields) have been configured. Opening the Economics screen prematurely, then, reveals this:
The MSO ribbon also identifies screens where settings are either missing or invalid, such as in the case of the Block Model screen below:
The same is true for individual controls on each screen: Where data is missing or has been set incorrectly, an error sign appears ( ) next to the offending field on a screen. Hovering the cursor over the error symbol reveals more information, for example:

Saving and Reverting Settings
MSO settings for each scenario are stored in your Studio project file.
Saving Settings
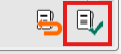
Save MSO settings using the Save button on each screen.
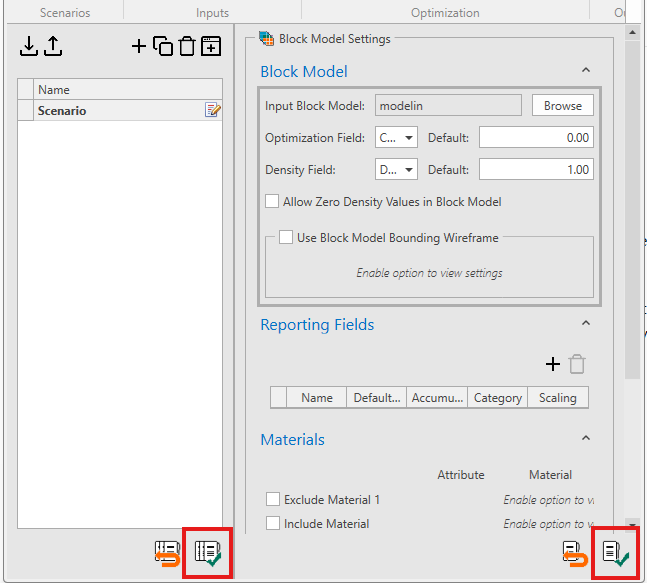
If the Manager sidebar is displayed, you will see the Save button twice. The button in the Manager sidebar saves all scenarios and all settings, whereas the button on the right will save only the target scenario:
You can also import and export settings in XML format, outside of your project. This can be useful to distribute useful starting templates for parameter sensitivity analysis, assessing the impact of parameter changes. It is also a good way to ensure that someone receiving the settings file (and data inputs) can reproduce your results reliably. These settings files could also comprise part of an audit trail, and so on.
See Import or Export a Scenario.
Reverting Settings
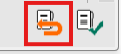
We all make mistakes. Revert yours using the Revert button.
This will revert the most recent change, then the next most recent. and so on.
As with the Save button, you can revert unsaved changes using the global button on the left, or for the target software only using the left hand button. You will need to confirm data setting reversion.