
Create a Block Model
Note: This topic relates to Dynamic Modelling.
The Dynamic Modelling workflow can incorporate a task to generate a block model representing geological structures. These structures are represented by attribute coding within the output block model.
You can include parameter values representing the domain tasks of your workflow, and also fault blocks. Typically, a block model task is run after the generation of its composite structures (by default, such workflow tasks are configured this way, but you can control how the workflow progresses).
The generated block model is based on the specified model prototype. If no prototype is specified, a default prototype is generated based on your input drillholes.
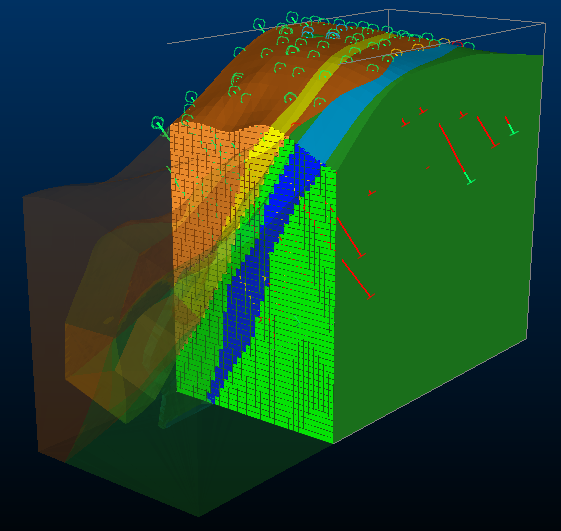
A block model created by Dynamic Modelling with cutaway section
You don't have to create a block model when running Dynamic Modelling workflows; it's up to you. You can create your implicit structures and then fill them with cells later if you like, or just use the volumes to analyse potential extraction volumes.
Note: Creating a block model replaces any previous model generated by the Dynamic Modelling framework.
Block Model Task and Domains
Once a Block Model task is run, it appears as a workflow item. If domain tasks were run beforehand, or fault blocks were generated, the block model encodes them automatically.
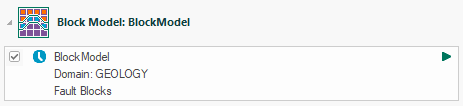
For example, in the image below, the generate model includes coding for the GEOLOGY attribute's domain values and a separate attribute recording the relevant fault block code for each cell:
Create Rotated Models
To adjust the model prototype for a subsequent run, including its rotation, origin, subcelling and reference dip and plane parameters, use the Prototype Model Properties control bar.
By default, the model prototype is automatically rotated to match the input drillholes, but you can override this behaviour so that rotation is either forced to a particular amount (with up to 3 rotations supported), or automatically rotated in either 2D (around one axis) or 3D (affecting, potentially all 3 rotation values). The rotation convention used in all cases is Z-X-Z.
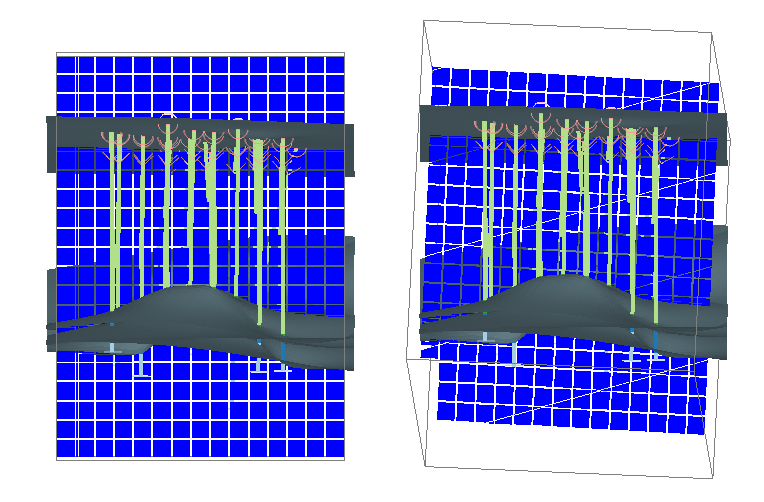
An example of a "2D Automatic" and a "3D Automatic" block model rotation
see Create Rotated Model Prototype Extents.
Block Model Domain Properties
If you do want to create a model, the Dynamic Modelling framework, and specifically, the Block Model Domain Properties control bar, make light work of rotating a model or adjusting the prototype to a new origin, and so on.
Selecting a "Domain:" or Fault Blocks item lets you define more detailed modelling properties for each modelled domain.
A Block Model task showing both a modelled domain (GEOLOGY) and encoded fault blocks
You can also configure the cell filling direction for a particular domain value using the embedded Define for Wireframe table of the Block Model Domain Properties control bar.
Note: Where both fault and domain value coding are included in the output model, individual model attributes can be managed independently for each.
Block Model Colouring
Once a block model task has been run, you can choose how to colour it. By default, the block model is generated with a fixed colour, but you can automatically apply a legend equivalent to that used for the generation of domain wireframes. Where multiple domains are encoded in a model (as a result of multiple domain tasks being run beforehand), you can quickly swap between domain legends for the output model, making cell coding for each domain instantly obvious.
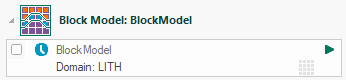
For example, a newly generated model that encodes two domains (ZONE and LITH) appears with a fixed colour indicator for both domains, as shown:
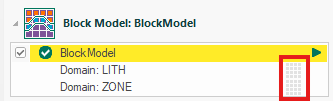
Clicking either domain colouring button automatically applies the domain legend for the selected domain, for example:

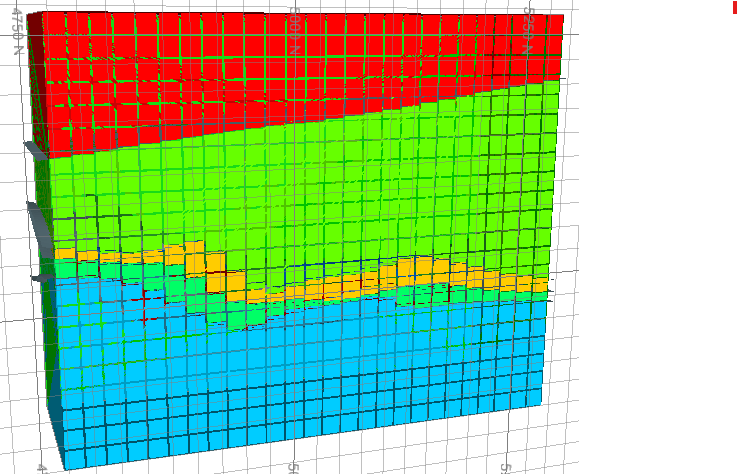
Selecting the other domain (ZONE) automatically updated the view of the model:
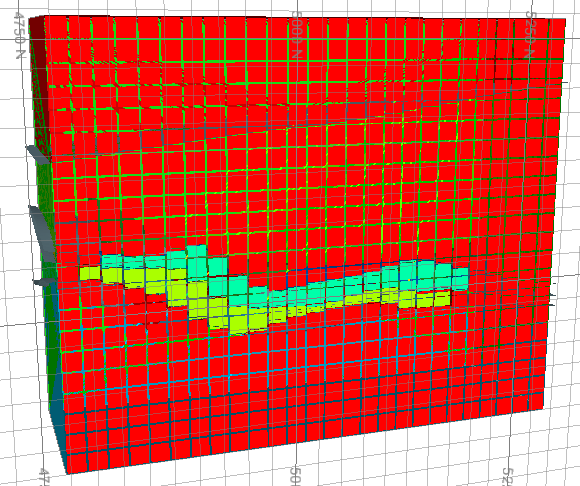
Note: Only one domain colouring option can be set at a time.
Add a Block Model Task
To add a Dynamic Modelling Block Model task:
-
Display the Dynamic Modelling Framework framework.
-
Dynamic Modelling ribbon >> Add Task Block Model.
A Block Model workflow task is added. By default, this appears at the bottom of the workflow list, meaning a model is created last, using precursor domain task and other outputs, but can change this using the Configure Tasks screen.
Is the button deactivated? This means a block model task already exists in your workflow. To add a new block model task, the old one must be removed first using the Configure Tasks screen.
-
Once other workflow tasks are added and configured, click Re-run All to create the domain and fault structures and (if specified) any automation macros to prepare data before block modelling.
-
Review your block model in relation to the other structures.
-
Adjust the block model prototype settings (rotation, origin and so on) using the Block Model Properties control bar.
-
If domain values are encoded, select them in the Dynamic Modelling framework and use the Block Model Domain Properties control bar to control how cells are filled for each domain, whether splits are used.
-
Re-run all workflow tasks and, again, review your block model in relation to the other structures.
Note: If there is as problem creating your block model, the workflow item appears with a warning sign
 . Hover over this icon and the reason behind the failure displays.
 -
Save your project.
Related topics and activities